連載記事。
前回はDBにアクセスするコントローラを作成しました。
今回はSessionベースの認証機能を使って、ログイン済みなら使えるControllerを実装していきます。
プロジェクトをCookie認証対応にする
まずはProgram.csを開き、以下のように変更。
using Microsoft.AspNetCore.Authentication.Cookies;

var builder = WebApplication.CreateBuilder(args);

builder.Services.AddControllers();
builder.Services.AddEndpointsApiExplorer();
builder.Services.AddSwaggerGen();
builder.Services.AddAuthentication(CookieAuthenticationDefaults.AuthenticationScheme)
    .AddCookie((options)=>{
        options.SlidingExpiration = true;
        options.Events.OnRedirectToLogin = cxt =>
        {
            cxt.Response.StatusCode = StatusCodes.Status401Unauthorized;
            return Task.CompletedTask;
        };
        options.Events.OnRedirectToAccessDenied = cxt =>
        {
            cxt.Response.StatusCode = StatusCodes.Status403Forbidden;
            return Task.CompletedTask;
        };
        options.Events.OnRedirectToLogout = cxt => Task.CompletedTask;
    });

var app = builder.Build();

string constr = app.Configuration.GetConnectionString("DBConnectString")??"";

// Configure the HTTP request pipeline.
if (app.Environment.IsDevelopment())
{
    app.UseSwagger();
    app.UseSwaggerUI();
}

app.UseHttpsRedirection();
app.UseAuthentication();
app.UseAuthorization();
app.MapControllers();
app.Run();
AddCookieにてOptionsに設定を入れてますが、.NET Core web apiはデフォルトだと未認証の時にログイン画面へリダイレクト(302)してしまいます。APIの場合は401して欲しいので、optionsに動作を追加しています。
続いてController側。
    [ApiController]
    [Route("test")]
    [Authorize]
    public class TestController : ControllerBase
    {
      ...
[Authorize]をセットすることで、このControllerはログイン前提になります。試しに
http://localhost:5249/test/
へアクセスしましょう。

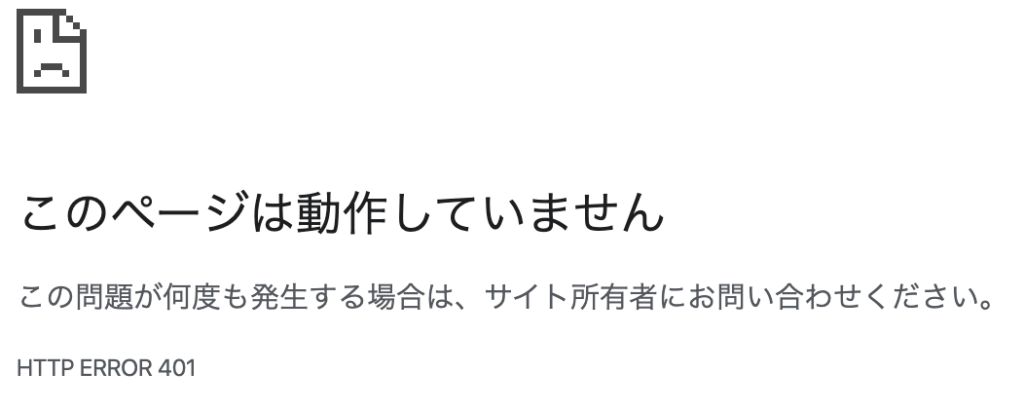
401が帰ってきますね。
認証機能を作る
Controllersフォルダにauthフォルダを作成。その中にLoginControllerを作成します。
using Dapper;
using プロジェクト名.Models;
using Microsoft.AspNetCore.Mvc;
using Microsoft.Data.SqlClient;
using Microsoft.AspNetCore.Authentication;
using Microsoft.AspNetCore.Authentication.Cookies;
using Microsoft.AspNetCore.Authorization;
using System.Security.Claims;
using Microsoft.IdentityModel.Tokens;

[ApiController]
    [Authorize]
    [Route("auth")]
    public class LoginController : ControllerBase
    {
        private IConfiguration _configuration;
        public LoginController(IConfiguration configration)
        {
            _configuration = configration;
        }

        [AllowAnonymous]
        [HttpPost("Login")]
        public async Task<IActionResult> Login(LoginValue input)
        {
            // パスワード認証
            if (input.Pass != "pass")
            {
                return new UnauthorizedResult();
            }

            var claims = new List<Claim>
            {
                new Claim(ClaimTypes.NameIdentifier, input.Id)
            };

            var claimsIdentity = new ClaimsIdentity(claims, CookieAuthenticationDefaults.AuthenticationScheme);

            await HttpContext.SignInAsync(
            CookieAuthenticationDefaults.AuthenticationScheme,
            new ClaimsPrincipal(claimsIdentity));

            return Ok();
        }

        [HttpPost("Logout")]
        public async Task<IActionResult> Logout()
        {
            await HttpContext.SignOutAsync(CookieAuthenticationDefaults.AuthenticationScheme);

            return Ok();
        }
    }

    public class LoginValue{

      public string Id{get;}
      public string Pass {get;}

      [JsonConstructor]
      LoginValue(string id, string pass){
        Id = id;
        Pass = pass;
      }
    }
とりあえずパスワードがpassだったらIdでログインできたことにします。
Swaggerを起動し、まずはLoginにアクセス。200が帰ってきたら次はTestControllerにアクセス。先ほどは認証していなかったので401が帰ってきていましたが、今回は200が返ってくるはずです。
最後にLogoutを実行してテストは完了です。
参考にPOSTMANで実行したところ。

しっかりとCookieがSessionにのってますね。
まとめ
元からある機能で簡単なログイン、ログアウトの作成はできました。しかしパスワード再発行や場合によってはCSRF等、ログイン周りはシビアな実装と豊富な機能が求められますので、納得いくまで調べて何度もテストして進めてくださいね。
