アプリ開発において避けては通れないのが通知機能。今は Firebaseのおかげでかなり楽になったとはいえど、やはり色んな設定がめんどくさい。私も初めてですが、通知が届く状態になるまで通していきたいと思います。
先にバンドルIDは決めておいてくださいね。com.hoge.~~ の様な、自分のドメイン名を逆にし、最後にアプリ名を付け加えた分です。
iOS準備
※ 2020/11/26現在、バックグラウンド通知が実機でのみ届き、シミュレータだとうまくいかない状態です。原因が分かり次第追記します。
まずapple developer consoleにてキーを作成します。
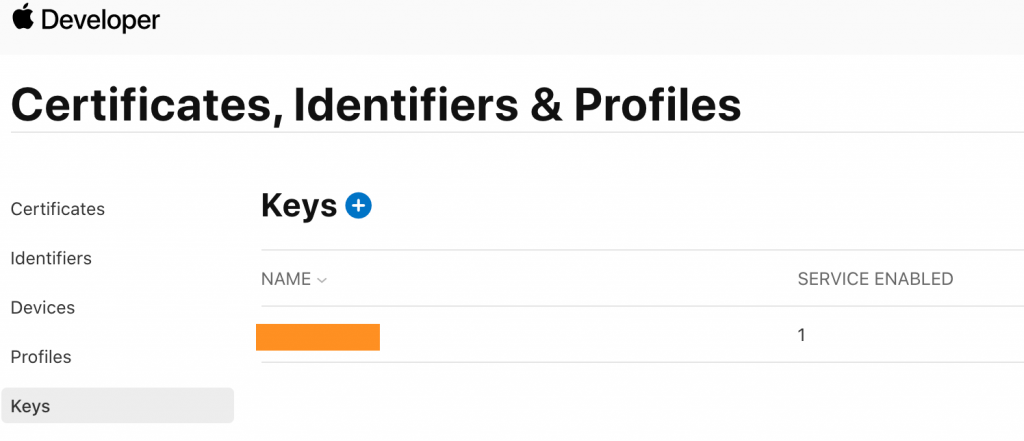
一意の名前を設定し、必ずAPNsにチェックをいれてください。
そしてダウンロード。どうも再発行はできない様なので無くさない様にしましょう。
この辺りはこちらの記事に詳しく書かれていますが、このやり方は新しい方法だそうです。古いもの(証明書を利用するもの)と混同しない様にしましょう。
その後Identiferの設定も行います。
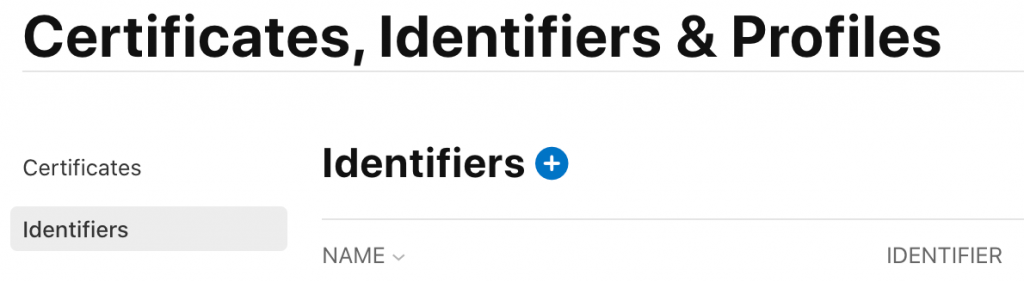
プラスボタンを押して、新たにアプリを追加。BundleIDは全ての設定で合わせる様にしましょう。そしてPushNotificationにチェックをいれてください。
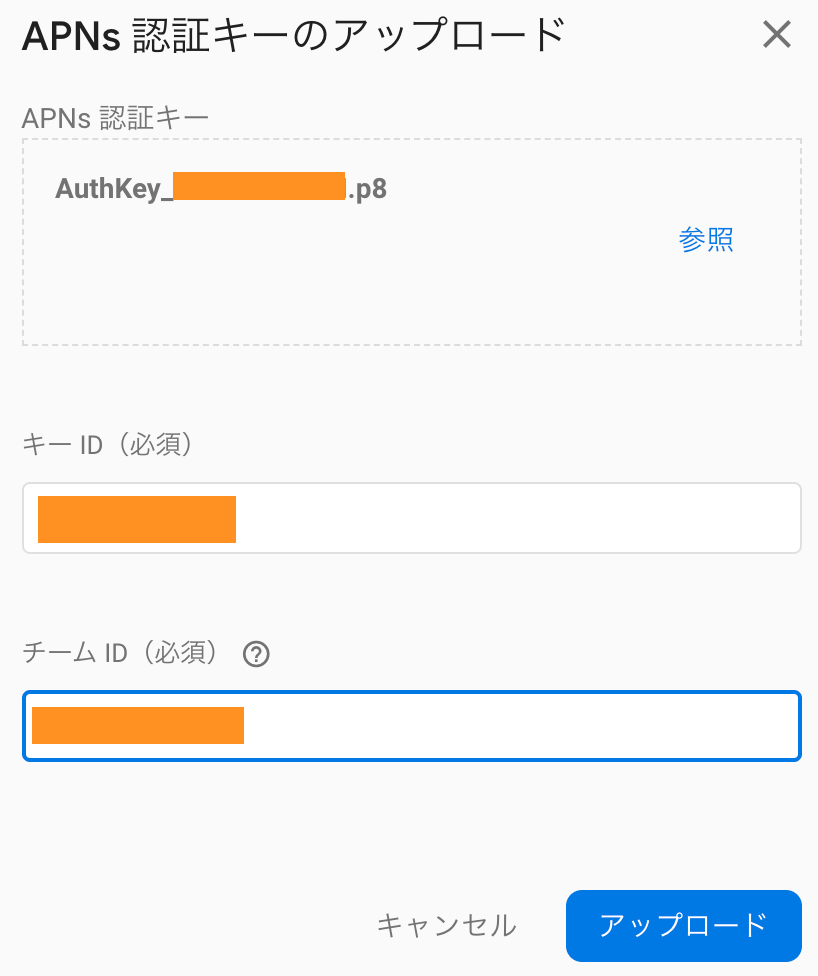
firebaseコンソールに移動します。iOSプロジェクトを作成、開き、CloudMessagingタブを選択します。先ほどの認証用ファイル、KeyのID、AppleDeveloperCnosoleのAccountページから見れる自身のチームIDをセットしてください。(自動で入力される時もあり)
ios/Runner/AppDelegate.swiftを開き、launchOptionsで定義されている関数の中に以下を追加します。
    /////
    if #available(iOS 10.0, *) {
      // For iOS 10 display notification (sent via APNS)
      UNUserNotificationCenter.current().delegate = self

      let authOptions: UNAuthorizationOptions = [.alert, .badge, .sound]
      UNUserNotificationCenter.current().requestAuthorization(
        options: authOptions,
        completionHandler: {_, _ in })
    } else {
      let settings: UIUserNotificationSettings =
      UIUserNotificationSettings(types: [.alert, .badge, .sound], categories: nil)
      application.registerUserNotificationSettings(settings)
    }
    application.registerForRemoteNotifications()
    /////
また、firebaseから、最新のGoogleServices-Info.plistをダウンロードして、
ios/Runner内に配置する必要があります。
finderから、Runner.xcodeprojをXcodeで開いてください。
GoogleServices-Info.plist設置後、通知設定を追加します。
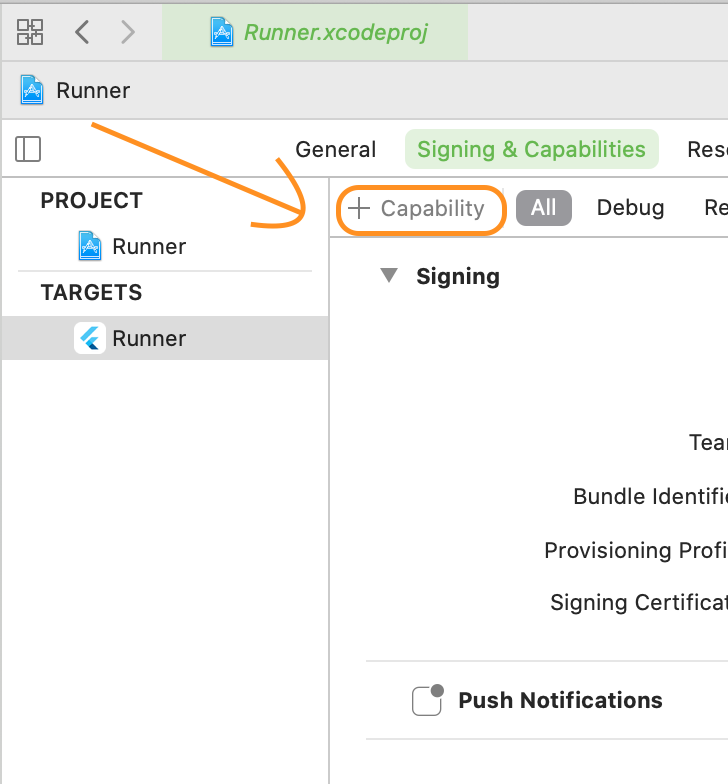
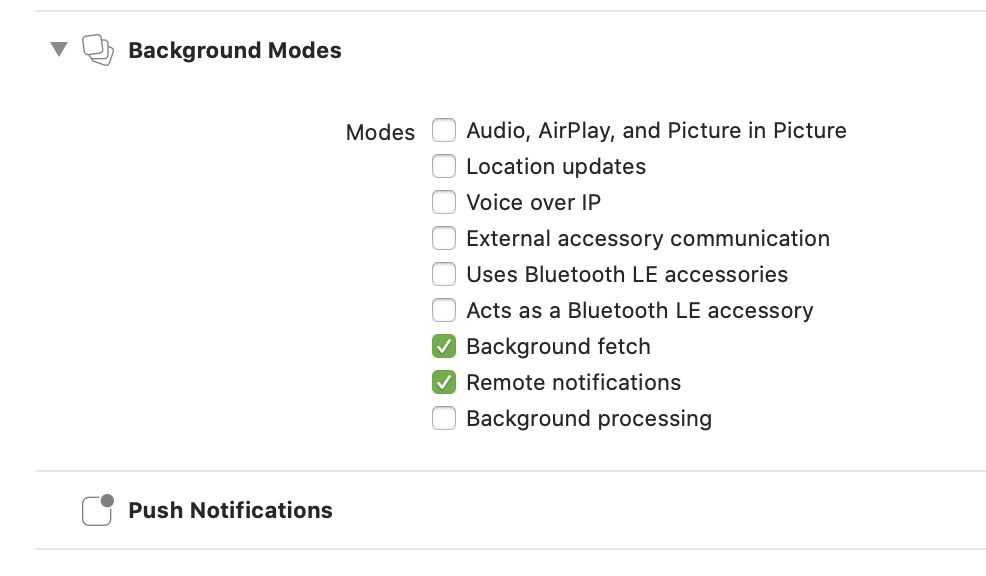
Capabilityを選択して、PushNotificationsとBackGroundModesを追加します。
BackgroundModesは以下の設定に変更。
Android
iOSと同じ様に、firebaseから設定ファイルをダウンロードします。googlr-services.jsonをダウンロードしたら、android/app内に設置してください。
その後、android/build.gradleのdependenciesに以下を追加
    dependencies {

     classpath 'com.google.gms:google-services:4.3.3'
    }
android/app/build.gradleに以下を追加します。
apply plugin: 'com.google.gms.google-services'更にこちらのdependenciesには以下を追加。
最新のfcm対応バージョン情報は以下で確認してください。

implementation 'com.google.firebase:firebase-messaging:21.0.0'これらは他のfirebaseサービスと同じなので既に書いているかもしれません。
次に、android/app/src/main/AndroidManifest.xml内のActivityタグ内に以下を追加。
 <intent-filter>
     <action android:name="FLUTTER_NOTIFICATION_CLICK" />
     <category android:name="android.intent.category.DEFAULT" />
 </intent-filter>
また、最初の方に以下の様な箇所があるので変更します。
    <application
        android:name="io.flutter.app.FlutterApplication"
        ↓以下に変更
        android:name=".Application"
app/src/kotlin/バンドルID~~ と進んでいくと、MainActivity.ktがあるはずです。同じ階層にApplication.ktという名前でファイルを作り、以下を記述。
package バンドルID
import io.flutter.app.FlutterApplication
import io.flutter.plugin.common.PluginRegistry
import io.flutter.plugin.common.PluginRegistry.PluginRegistrantCallback
import io.flutter.plugins.GeneratedPluginRegistrant
import io.flutter.plugins.firebasemessaging.FlutterFirebaseMessagingService
class Application : FlutterApplication(), PluginRegistrantCallback {
   override fun onCreate() {
       super.onCreate()
       FlutterFirebaseMessagingService.setPluginRegistrant(this);
   }
   override fun registerWith(registry: PluginRegistry?) {
       io.flutter.plugins.firebasemessaging.FirebaseMessagingPlugin.registerWith(registry?.registrarFor("io.flutter.plugins.firebasemessaging.FirebaseMessagingPlugin"));
   }
}
共通
flutter側、通知を取得したときの動作を記述していきます。まずはyamlに追加。
firebase_messaging: ^7.0.3その後、通知取得処理の初期化動作を確認したい画面(アプリのメイン画面とか)に処理を記述していきます。
final FirebaseMessaging _firebaseMessaging = new FirebaseMessaging();

//device token取得
String fcmToken = await firebaseMessaging.getToken();

//許可を求める画面
await _firebaseMessaging.requestNotificationPermissions(
        const IosNotificationSettings(sound: true, badge: true, alert: true));

//用途不明
_firebaseMessaging.onIosSettingsRegistered.listen((IosNotificationSettings
                                                setting) {});
//通知受信時動作
_firebaseMessaging.configure(
     onMessage: (Map<String, dynamic> message) async {
                                            print("onMessage: $message");
                                          },
     onLaunch: (Map<String, dynamic> message) async {
                                            print("onLaunch: $message");
                                          },
     onResume: (Map<String, dynamic> message) async {
                                            print("onResume: $message");
                                          },
);
一旦、アプリを起動している状態で上記のonMessageが動くかデバッグしましょう。次はアプリを終了した後も通知が届くかどうか。
通知はfirebaseの拡大->CloudMessagingから送れます。iOSとAndroidそれぞれ別です。両方とも通知音を鳴らすかどうか選べますし、iOSに関してはバッチ数(LINEとかでバッチマークの中にある数字)も設定できます。
現在iosシミュレータだとバックグラウンドで通知が届きません。原因わかると良いな。。
Androidに関してはシミュレータでも問題なく届きます。
